
6 minutes read
Sourcing a sealant is about more than just filling a gap snugly.
Sealants have three jobs: filling a gap, forming a barrier, and maintaining a seal in a specific environment. Each sealant has a different purpose, fits different environmental factors, or is suited for different substrates. Even then, you have more factors to consider to ensure the application of sealants in construction is a process as smooth as the product itself.
The local hardware store may carry various options, but that doesn’t mean they’re equipped with the right product or adviser for your commercial-grade application. Below we’ll cover not only the proper tools of the trade for construction sealant, but also how to apply it professionally.
How To | Application of Sealants in Construction
Sealing best practices are paramount to durability, weather resistance, and overall project success. Remember the following steps to sealant success:
- Select the right sealant
- Consider your surroundings
- Proper joint preparation
- Application techniques
- Don’t forget the accessories!
1. Make Sure You Have the Right Sealant
Introducing the right sealant into your construction project is more than just a technical choice. It’s also a strategic decision that can significantly impact the longevity and performance of your structures.
Consider the following to ensure you have chosen the right sealant for the job:
| 🔸Physical properties | 🔸Joint design |
| 🔸Chemical properties | 🔸Will it be coated? |
| 🔸Cost | 🔸Temperature |
| 🔸Sun exposure | 🔸Soaking/abrasion resistance |
| 🔸Insulation/conduction needs |
There are a variety of sealant materials for a variety of job types:
Polyurethane sealants: First and foremost, these are not for glass. However, polyurethane sealants do make sense for certain substrates and projects where movement and durability are top priorities. When considering how to use Sikaflex construction sealant, for example, consider not just its consistency and tear resistance, but also the unique ability to paint it to match surrounding elements.
Speaking of matching, polyurethane sealants are also a go-to when the surrounding materials have a specific tint to match. They’re available in gray, black, or white for that purpose.
Silicone sealants: Working in extreme temperatures makes for a challenge, but silicone provides reliable adhesion strength. Popular in construction, silicone sealants are resistant to not only moisture, but also chemicals and weather erosion. They also work well in extreme temperatures. These benefits do come at a higher price point.
Butyl sealants: While more difficult to apply, this type of sealant fits a tighter budget. It provides strong adhesion to multiple material types and is ideal for joint sealing in door frames, drains, and windows, as well as other tight locations.
2. Consider Your Surroundings
The physical (and chemical) circumstances that impact sealant performance come in two forms: substrate and environment.
The expectations for a sealant depend on the substrate on which you’ll place it. Applying a sealant to metal means dealing with different coatings, while glass isn’t ideal when combined with specific sealants. Working with concrete or plastic? The details there matter as well.
Applying a sealant to a painted surface is not something we recommend, as the process rarely provides the adhesion you’ll need. The same can be said of vinyl and untreated wood.
Always consult the manufacturer’s instructions, and ask the distributor for clarification where you need it.
Environmental factors prominently in the consideration process. Both weather and temperature influence the quality of the seal created. The bond also depends on any materials adjacent to the sealant.
In situations where you can’t use a sealant backing, bond breaker tape is a suitable replacement. In joints and gaps where sealant backing is an option, sealant depth is easier to control and you can avoid adhesion to three sides.
The available joint depth also influences sealant choice. For example, with a joint that is less than ¾” in width, a one-component sealant is easier to apply but weaker in terms of bond.
For larger projects, however, a two-component sealant (the more professional option) provides stronger bonds. It does also come with a complex application process.
3. Proper Joint Preparation
When it comes to how to apply sealant to concrete, don’t forget the prep step. Clear the surface of any previous sealer. Use an etching solution if necessary.
Before applying new sealant, clean the surface and remove all previous failed or degrading materials. Moisture and dirt are two bitter enemies of successful sealant application. Dry surfaces provide the strongest bond for any sealant, so keep that criteria in the forefront as you work. The cleaner should be compatible with both the substrate and the sealant, or else it could damage the surface or fail to adhere.
- A razor knife works for cleaning nonporous substrates, while a porous substrate may require grinding to reach an unblemished surface.
- Compressed air is also key here, as it effectively clears the area of dust, debris, and any remaining loose particles.
- Even out all imperfections before moving on to the next step. The sealant won’t adequately protect against leaks if it can’t uniformly adhere to the substrate.
Consult the manufacturer’s guidelines on whether or not a primer is necessary for the sealant in question. Follow the manufacturer’s direction regarding coverage and drying time for the primer before applying sealant.
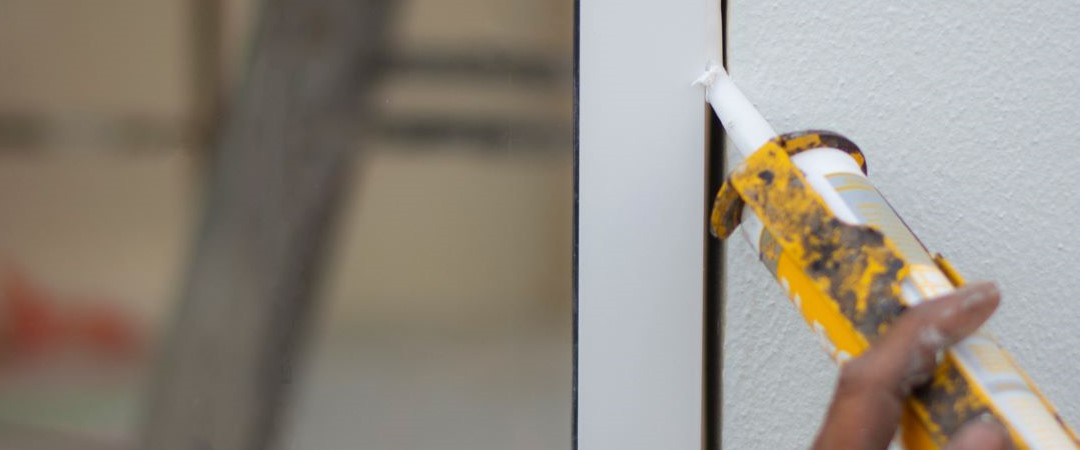
5. Application Techniques for Durable, Watertight Seals
Consider the best method for the sealant you are about to apply. The kind of sealer, type of concrete, and sometimes even the brand of sealant should change your application approach.
Seals for waterproofing applications must prevent movement of water, debris, and wind through the gap where you apply the sealant. To do this effectively, the sealant must fully adhere to both sides – most of the time, this involves adhering successfully to two different substrates. The sealant also must retain some flexibility to adjust with any joint size changes due to movement.
To place the seal effectively, keep an eye on:
- Bead dimensions – A width-to-depth ratio of 2:1 is a common guideline, ensuring that the sealant can accommodate movement. The ideal shape is an hourglass, allowing the material to expand and contract as necessary.
- Amount – Too much sealant makes joints too rigid to move. Skimping too much on sealant may cause it to fail prematurely in high-movement environments.
- Testing – At the job site, run an adhesion test to verify joint seals.
6. Accessories to Make the Process Go Smoothly
Proper sealant selection and use go a long way toward improving the odds of success, but great accessories can be the cherry on top. For instance, slickers and spatulas assist in making your joint the proper size and finish. Meanwhile, because the sealant must be manipulated into an hourglass shape to optimize for stretching, tools with a rounded tip are necessary for this step.
Again, with accessories and tools, it can be challenging to find the most accurate information when consulting counter staff at the local supply store. That’s where your distributor or manufacturers should come in.
Sealant Success = Product + Application + Education
When sealant will be a part of your construction project, it helps to know the properties of the various sealants and the best application technique for each. Using the wrong one – or the wrong way – can cost a lot of money and mean revisiting a site on a much shorter timeline than expected.
For more tips on choosing and using construction products, visit our resource center:
